
Connecting a New Calendar Source
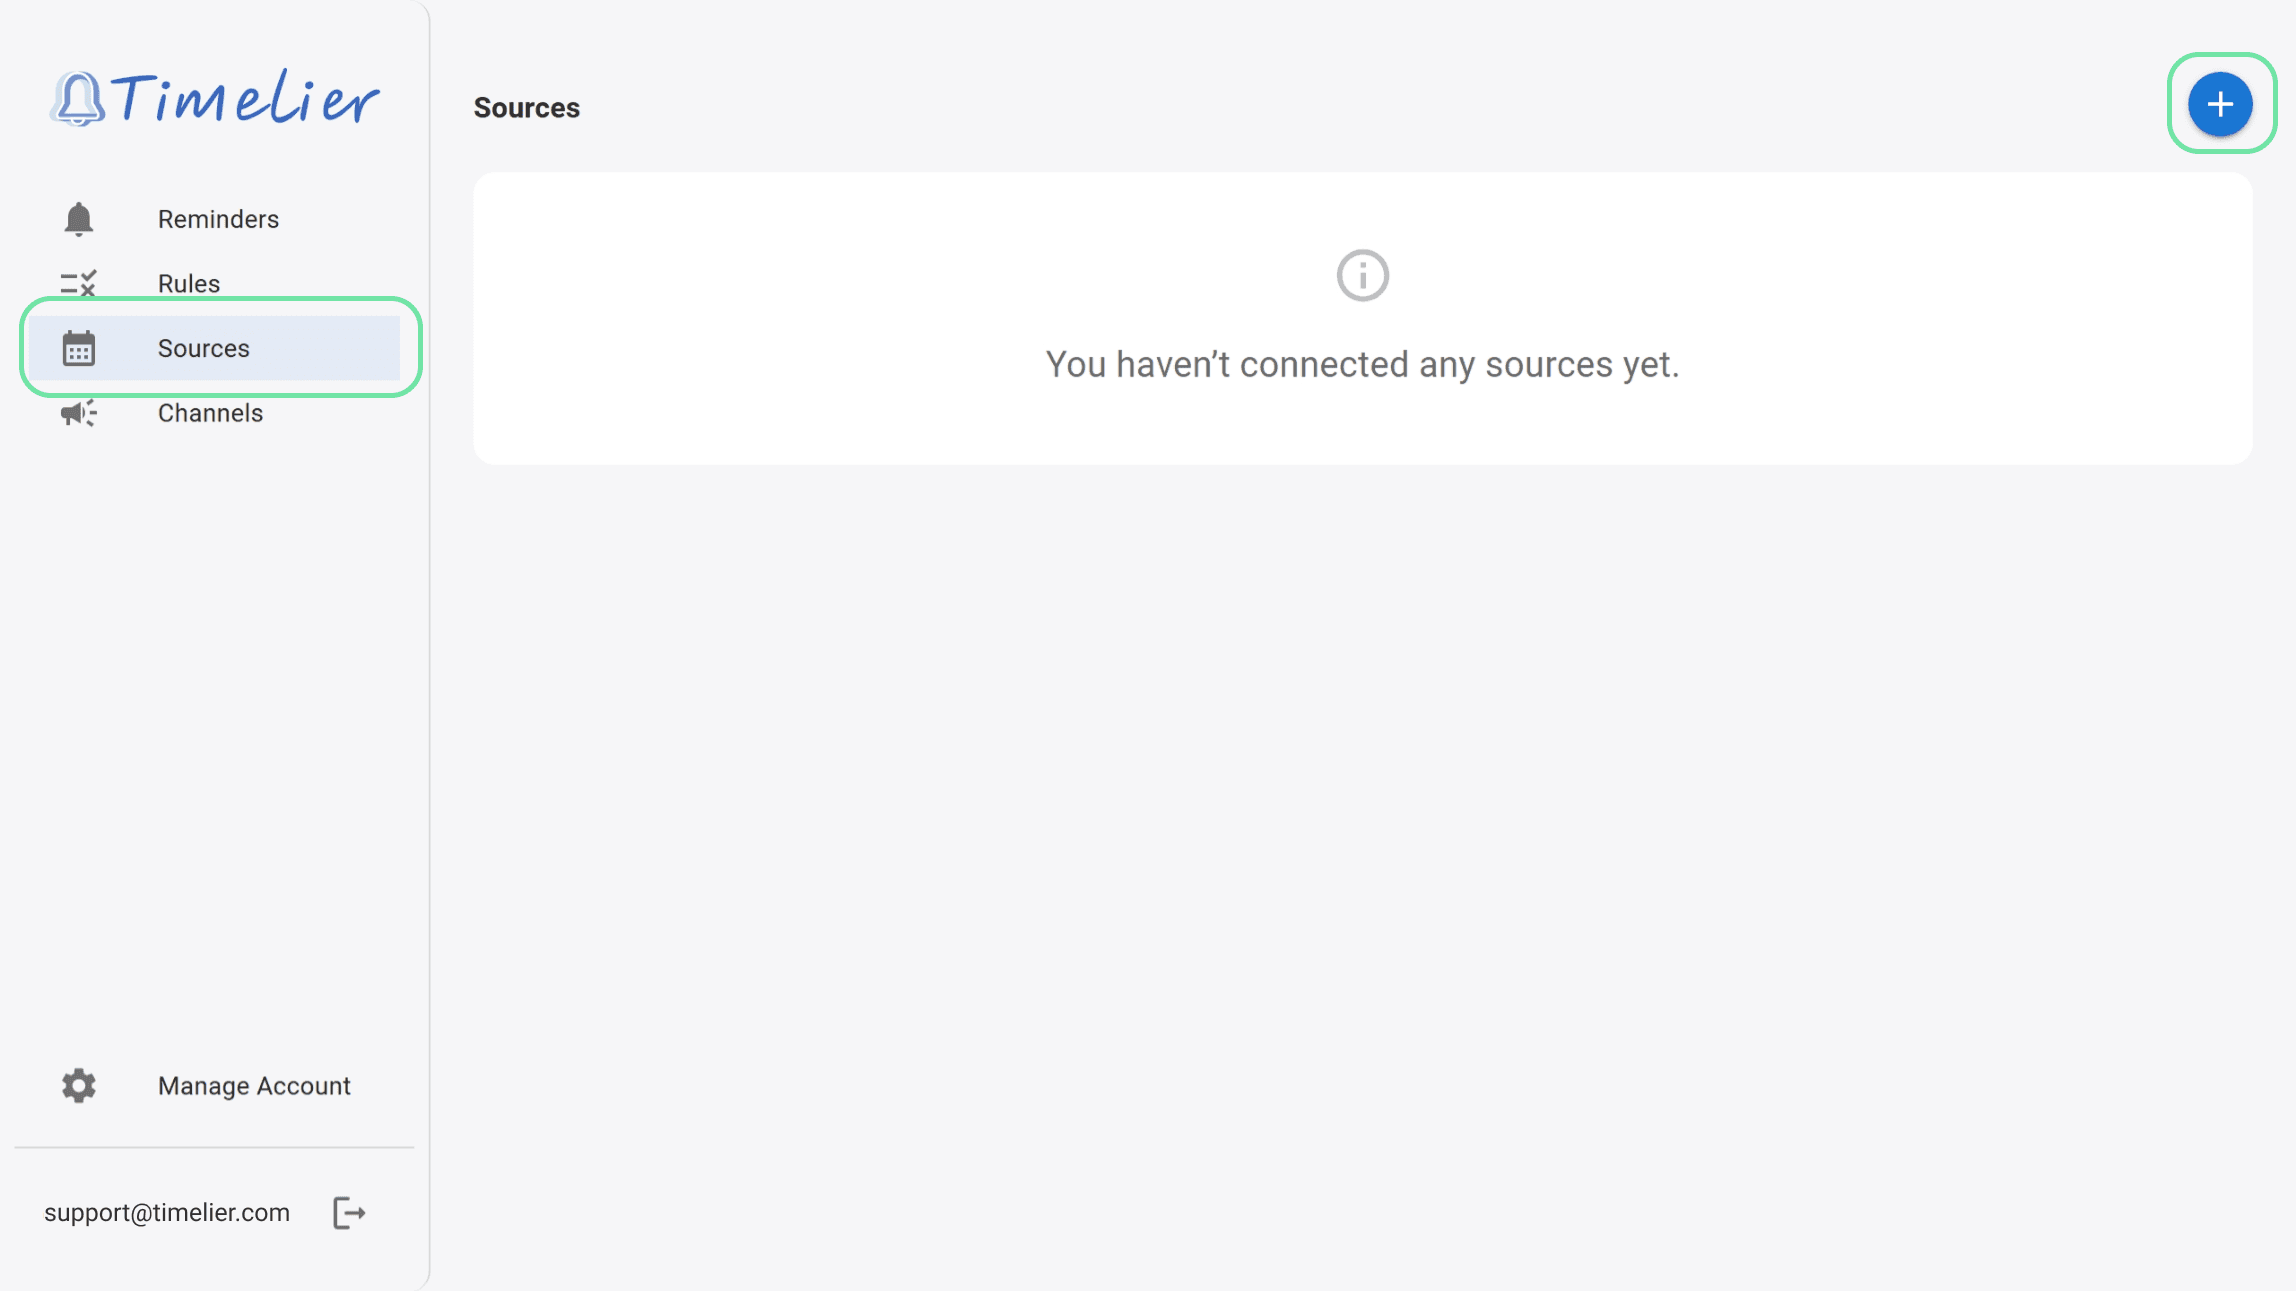
1. Log in to your Timelier account and navigate to the Sources page using the side navigation menu.
2. Click the “Add Source” button.
3. You will be presented with your provider options: Google, Microsoft, Apple iCloud, or ICS Link.
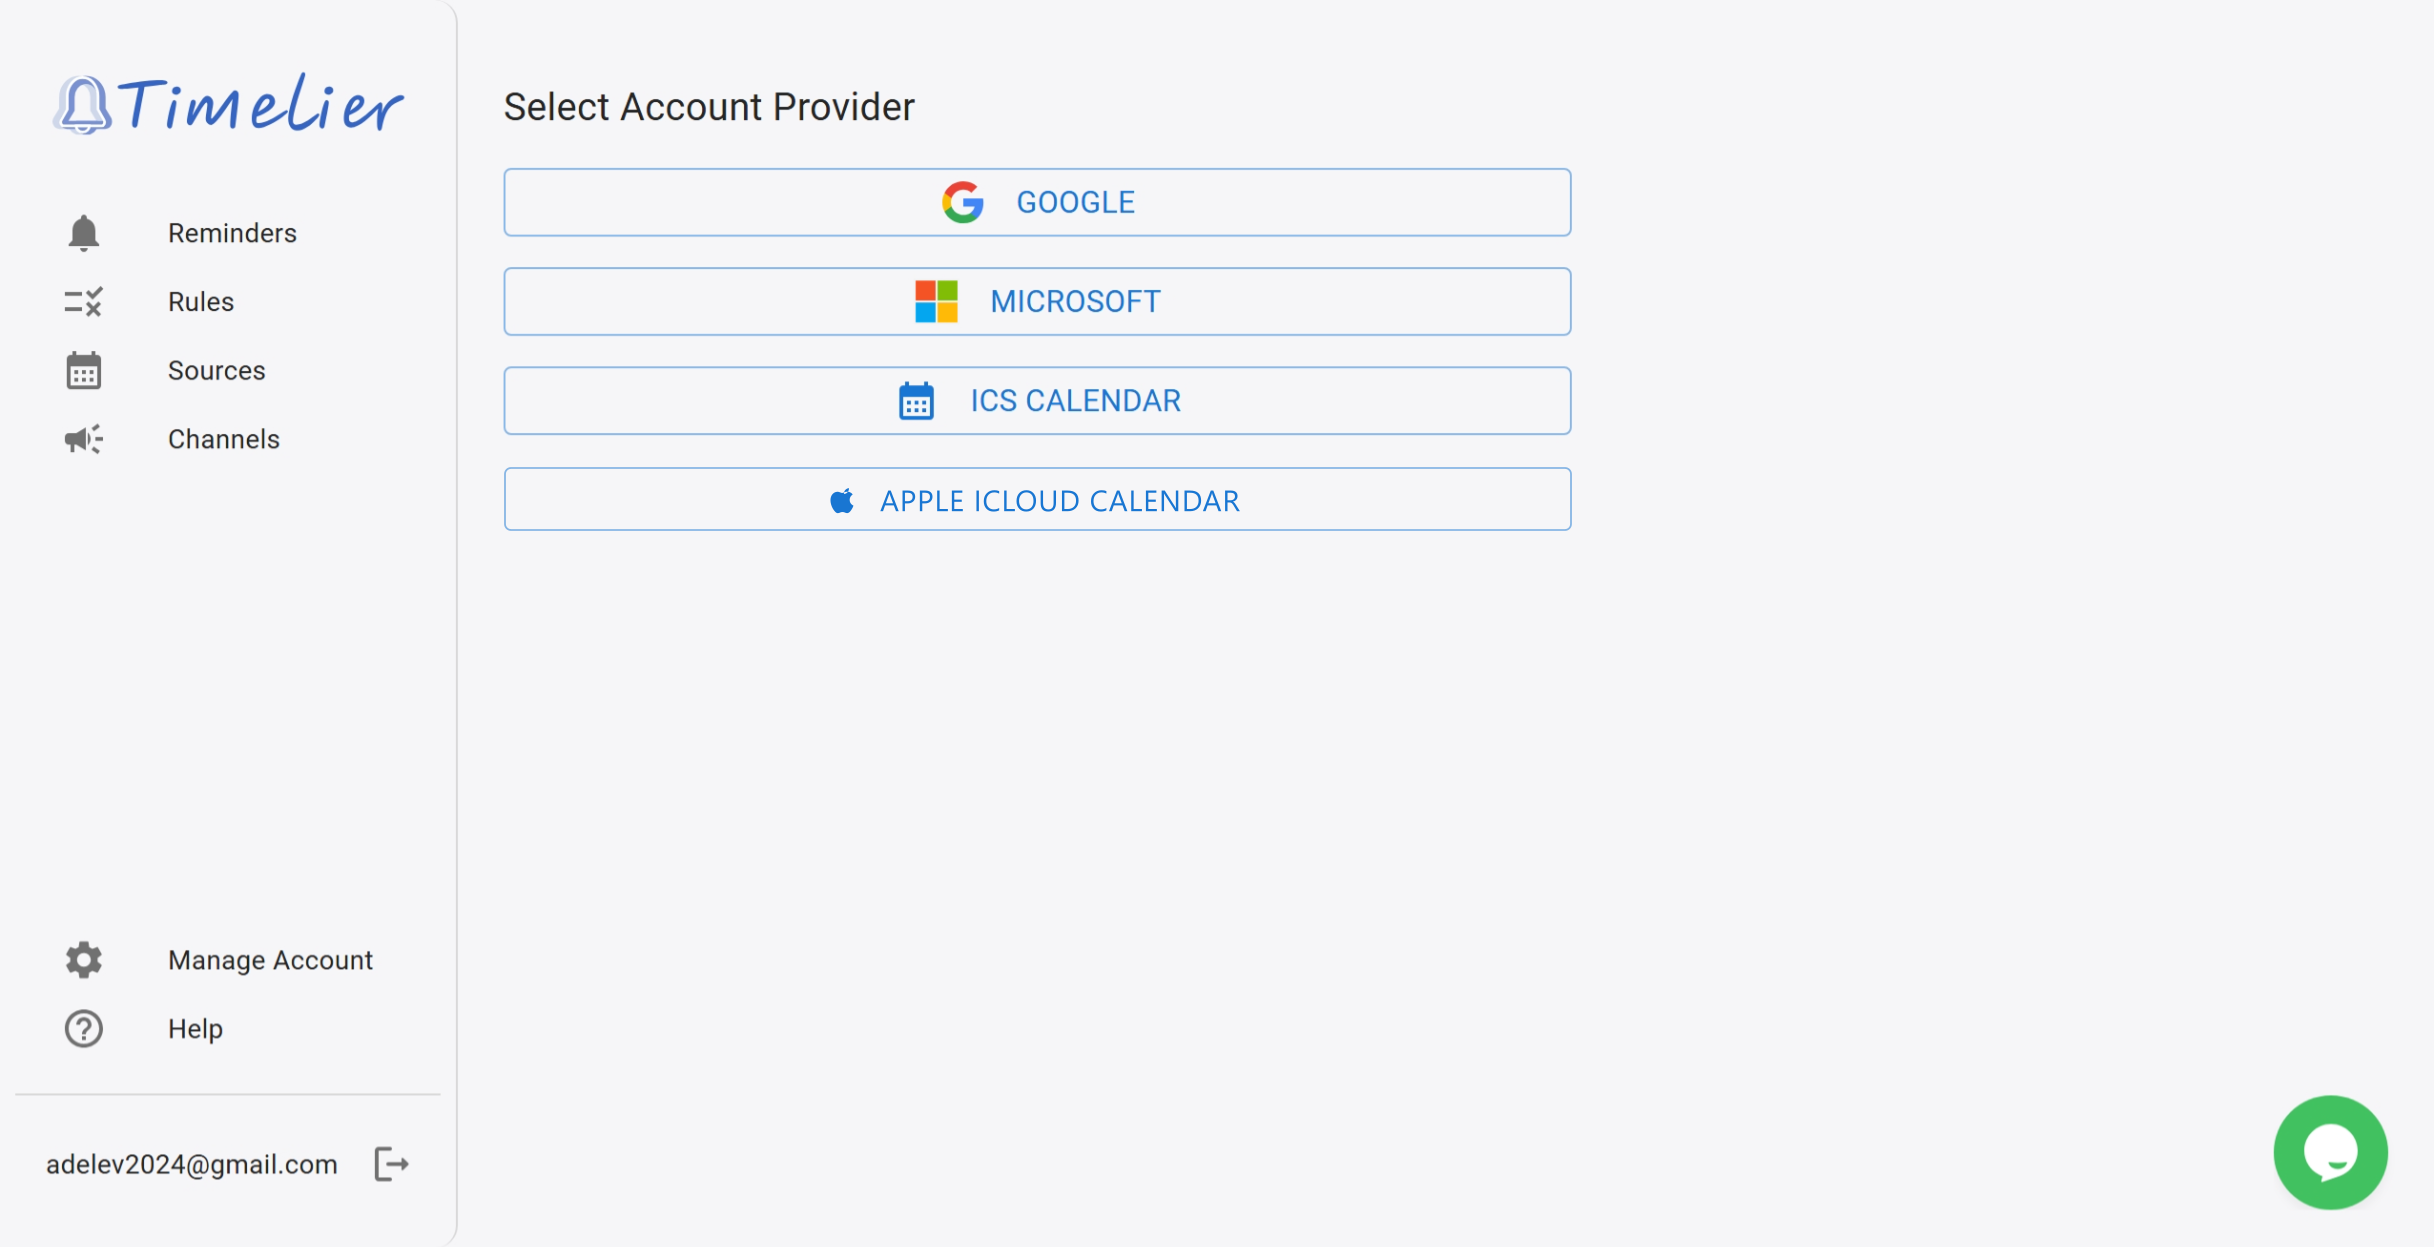
Option A: Connecting Google Calendar or Microsoft Outlook
Connecting a Google or Microsoft account via OAuth allows Timelier to securely access your calendars and event details.
1. Click on either the Google or Microsoft logo.
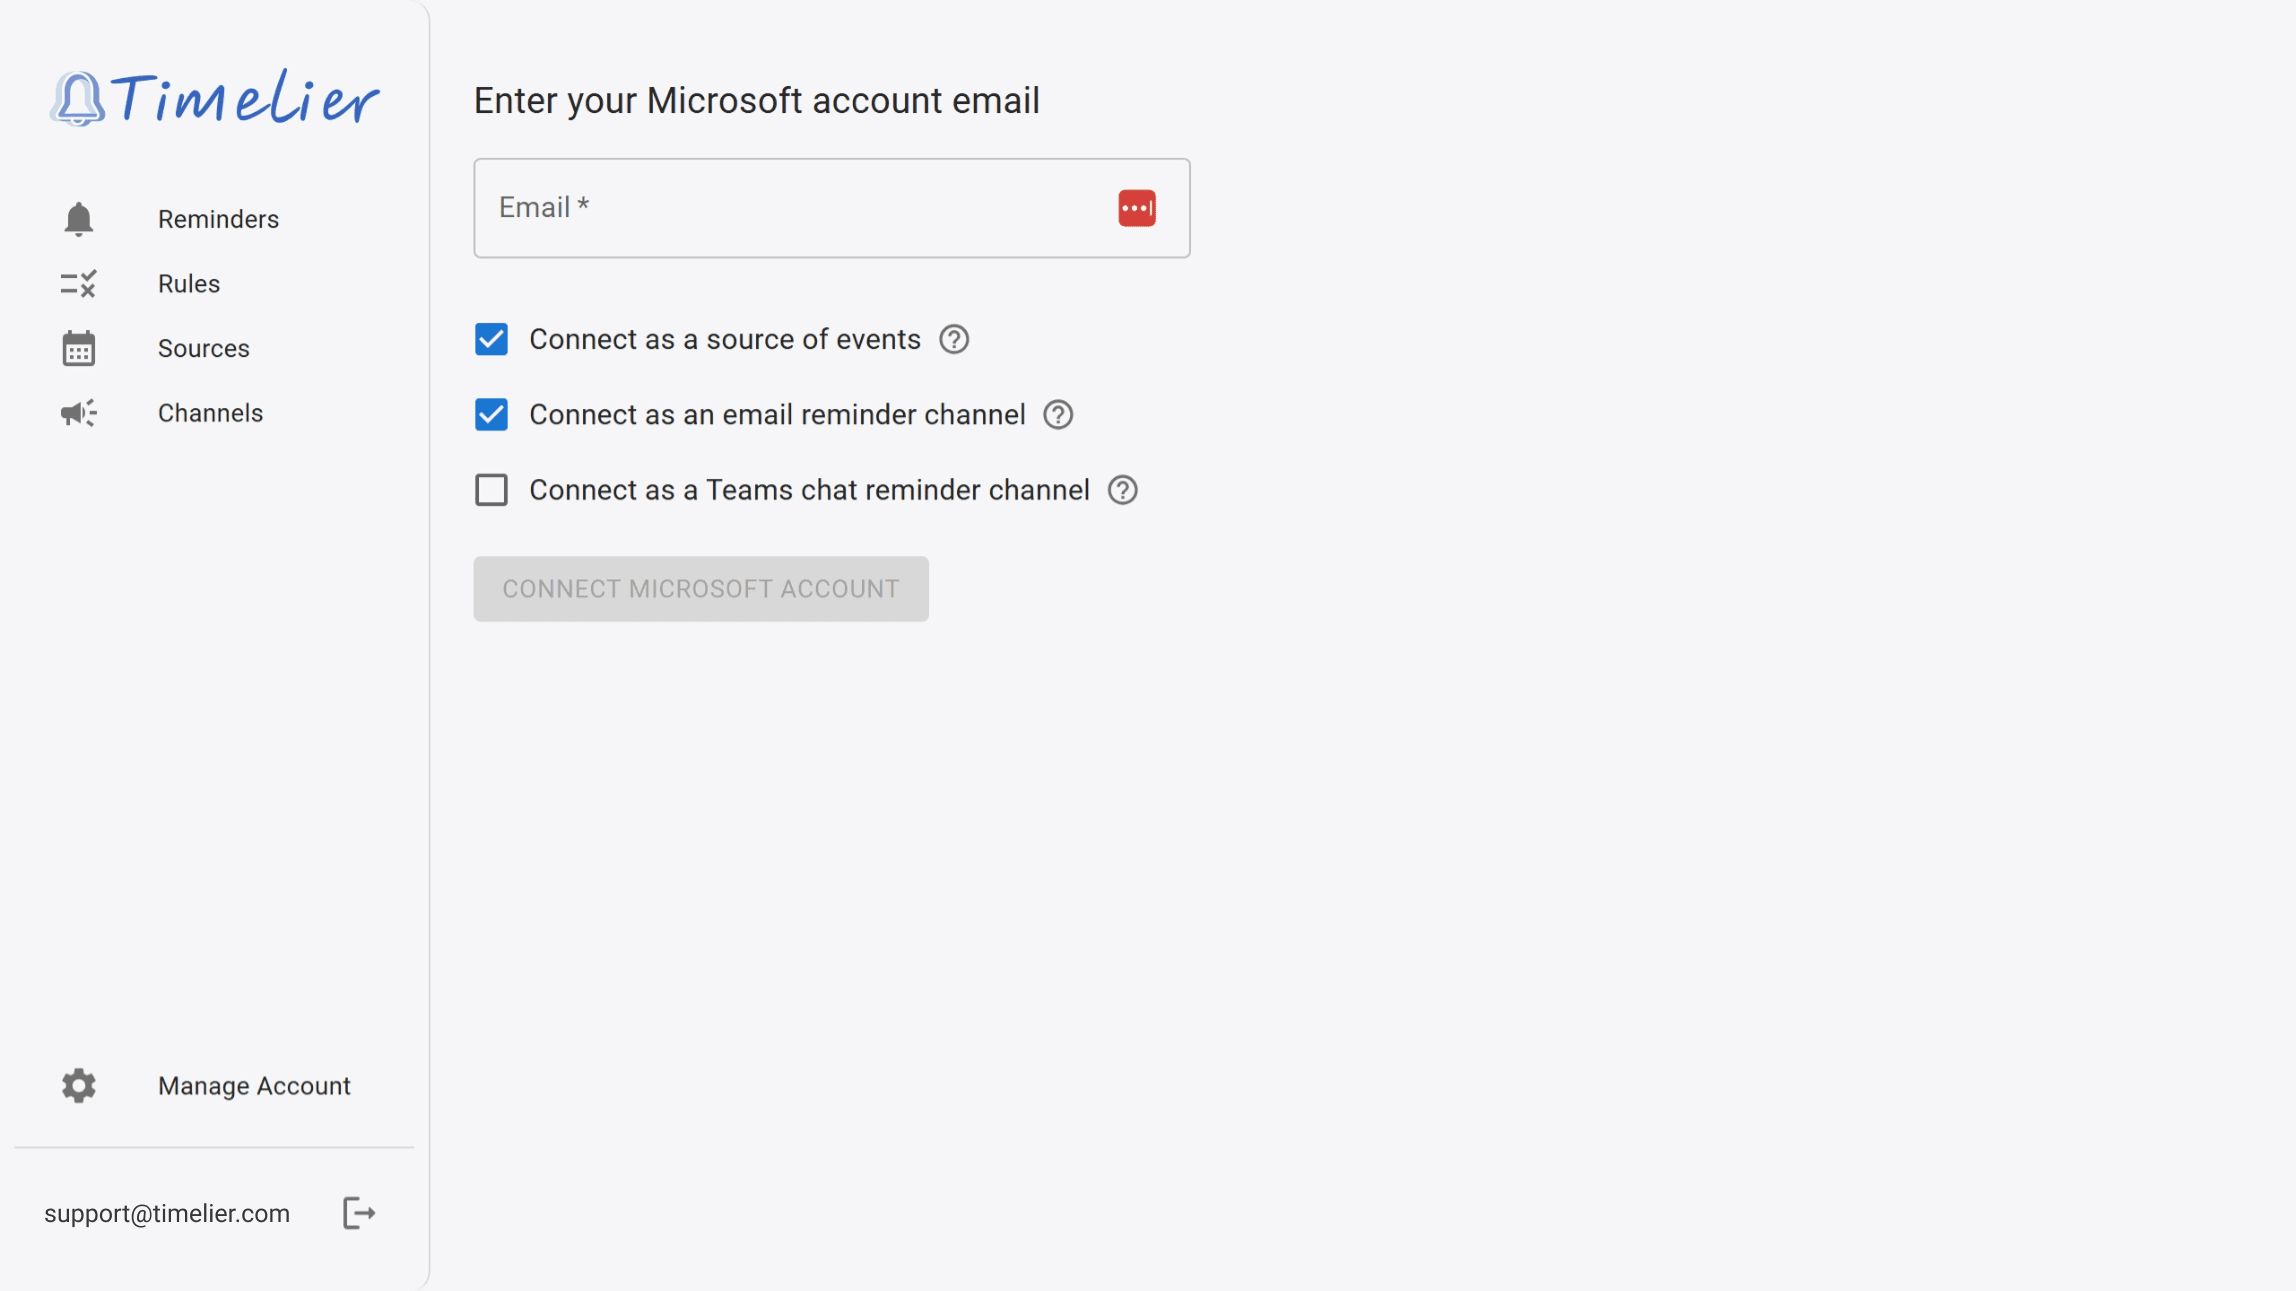
2. Enter the email address associated with your account.
3. Check the box to “Connect as a source of events.” This lets Timelier read your calendar to create reminders. This is the only permission that you must check.
- If you want to let timelier send email reminders from this account on your behalf, check the box to “Connect as a reminder channel.” This is optional. See the Connect a reminder channel (optional) section.
- If you are connecting a Microsoft 365 accounts that has a Teams license, and you want to let Timelier send Teams chats on yor behalf, you can also check the box to “Connect as a Teams chat reminder channel.” This is optional. See the Connect a reminder channel (optional) section.
4. Click ‘Connect Google/Microsoft Account’.
5. You’ll be redirected to the Login with Google/Microsoft website.
6. Log in with your Google/Microsoft and approve access.
7. Once connected, you’ll be returned to Timelier and see a confirmation message.
Option B: Connecting Apple iCloud Calendar
Timelier supports syncing with Apple iCloud Calendar via Apple’s secure CalDAV protocol. Because Apple requires two-factor authentication for all Apple accounts, connecting third-party services like Timelier uses an App-Specific Password rather than your personal password.
Step 1: Generate an App-Specific Password in Apple
- Sign in to your Apple Account management page at account.apple.com.
- In the Sign-In and Security section, select App-Specific Passwords.
- Click Generate an app-specific password (or the + button).
- Enter a name or label for the password (such as
Timelier) and click Create. - Copy the 16-character generated password (formatted as
xxxx-xxxx-xxxx-xxxx).
Step 2: Connect iCloud in Timelier
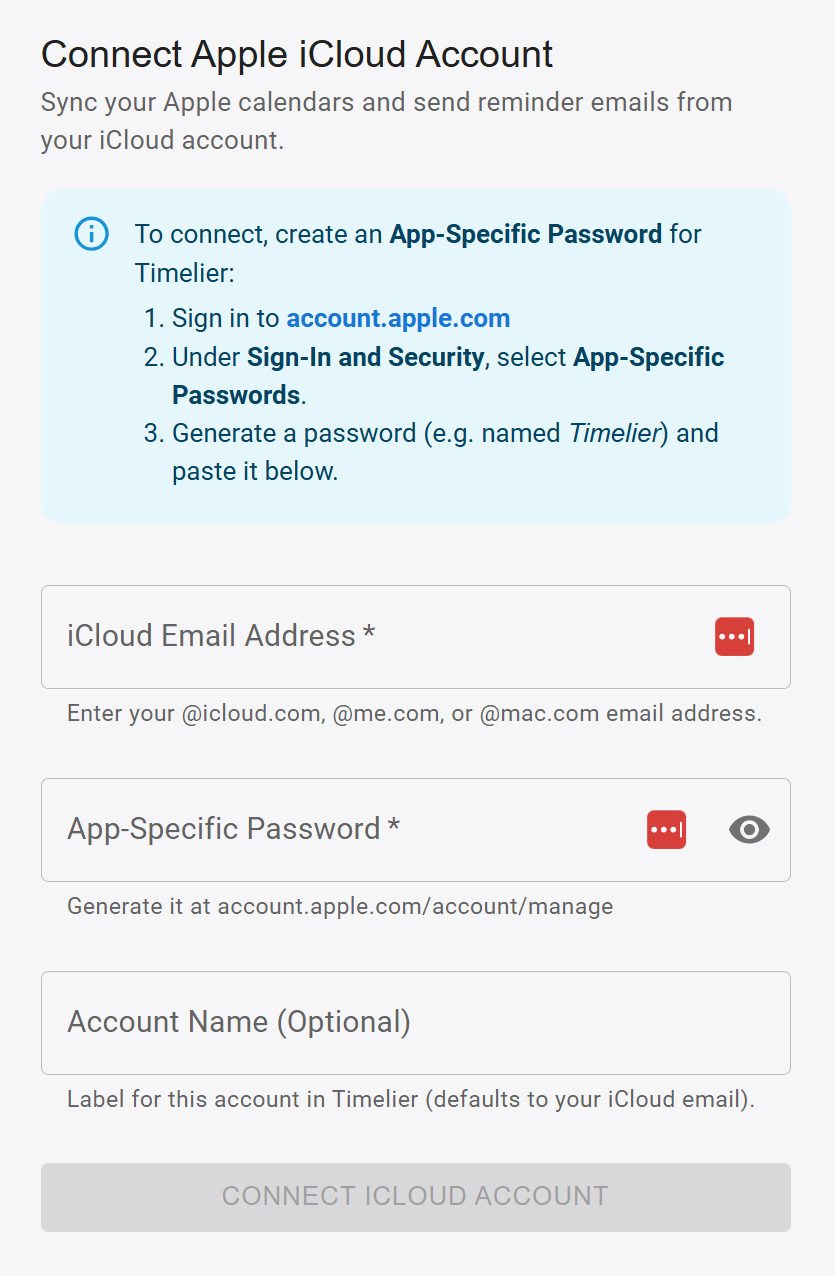
- In Timelier, go to Sources > Add Source and click Apple iCloud Calendar.
- Enter your iCloud Email Address (your
@icloud.com,@me.com, or@mac.comaddress). - Paste the 16-character App-Specific Password you generated in Step 1.
- (Optional) Enter an Account Name (e.g., Personal iCloud) to identify this calendar in Timelier.
- Click Connect Apple Account. Timelier will connect via CalDAV and automatically discover your calendars.
@icloud.com, @me.com, or
@mac.com address in the email field.
Option C: Connecting an ICS Link
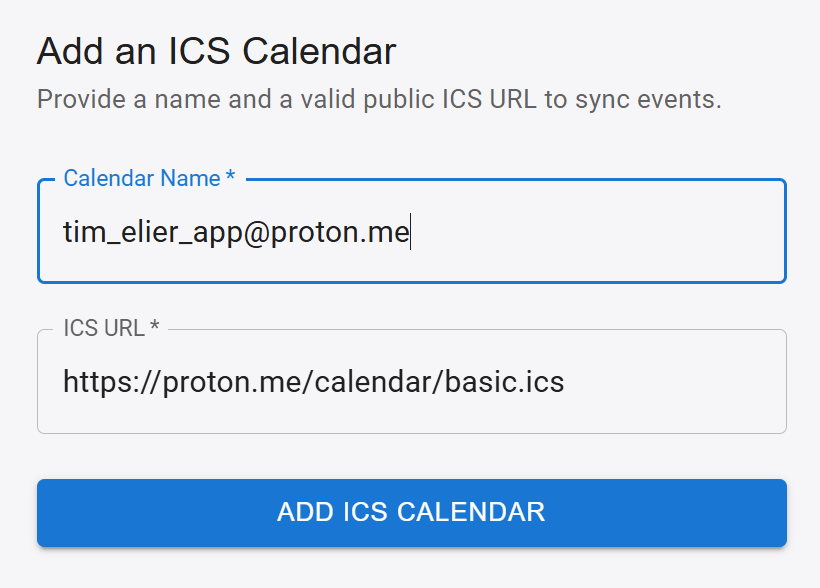
If you use a different calendar provider, want to monitor a public event feed (like a sports schedule or holiday calendar), have a shared Apple iCloud calendar with a public WebCal link, or company or school I.T. policies prevent you from connecting your Outlook or Google calendar via OAuth, you can connect it using an ICS (iCalendar) link.
1. Click on the ICS option.
2. Enter a recognizable Name for this source so you can identify it later.
3. Paste the URL (.ics link) of the calendar feed.
4. Click Save. The ICS feed will now appear in your list of Sources.
.ics URL. Check your calendar provider’s documentation for specific
instructions.